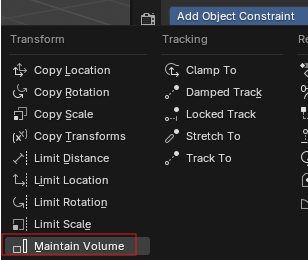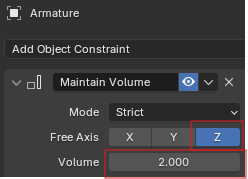
Blender tutorial: add an Armature to a ball, parent them, and add a constraint to prepare for animation.
Step 1: Add ball #
How: Shift-A → UV Sphere
Step 2: Move ball on ground #
How: (Ball selected) → G → Z → 1
Step 3: Assign checker texture #
How: Material Properties → [New material] → Base color (Yellow dot) → Checker texture


Step 4: Preview texture #
How: (Top right) → Viewport shading

Step 5: Add Armature #
How: Shift-A → Armature → (Still not visible in viewport)
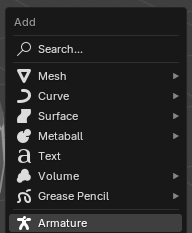
Step 6: Check if Armature added #
How: See outliner (top right table) → (Still not visible in viewport)
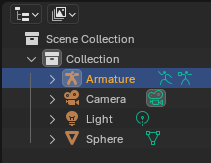
Step 7: Put Armature to front #
How: Object properties → Viewport Display → In front

Step 8: Scale armature same height as ball #
How: (Armature selected) → Object properties → Transform → Scale Z → 2

Step 9: Parent ball & Armature #
How: Box select ball & Armature at 1 time (don’t use shift select) → Ctrl-P → With Automatic Weights

Step 10: Check if parent done #
How: Outliner → (Need click Armature arrow to see sphere inside)

Step 11: Add constraint to armature #
How: (Just armature selected) → Constraint → Add Object Constraint → Maintain Volume → Free Axis → Z