| Item | Value |
|---|---|
| Software | Blender, Unity |
| Version | Blender 4.2 LTS (estimated) |
| Created | September 2026 |
How to bake a Blender material into a texture image and export the model to Unity, so the material shows up correctly in the game engine.
1. Open the UV Editing workspace
Purpose: Set up the model’s UV map before baking.
Steps: Select the object → in the top bar, switch from Layout to UV Editing.
2. Select all faces in edit mode
Purpose: Make sure the whole mesh is selected.
Steps: Switch to edit mode → press 1 (vertex) → press A (select all).
3. Smart UV unwrap
Purpose: Generate a UV layout for the model.
Steps: In the UV tab → press U (unwrap) → choose Smart UV Project.
4. Switch to the Shading workspace
Purpose: Open the node editor to set up the image texture.
Steps: In the top bar, switch to Shading.
5. Add an image texture node
Purpose: Create an empty image to bake onto.
Steps: In the chart view (bottom-right panel) → press Shift-A → search “Image Texture” → choose New.
6. Bake the texture
Purpose: Render the material into the image.
Steps: In the right vertical bar → open the Render panel → Bake panel → click Bake.

7. Link the image to Base Color
Purpose: Connect the baked image to the material so it displays.
Steps: In the chart view, drag the image texture node’s Color output to the Base Color input.
8. Save the baked image
Purpose: Store the texture to disk so it survives after closing Blender.
Steps: In the image editor, save the baked image.

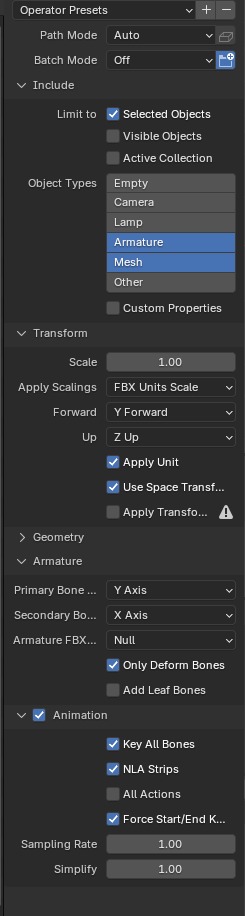
9. Export as FBX
Purpose: Export the model with its UV map for Unity.
Steps: File → Export → FBX (.fbx).
10. Import the FBX into Unity
Purpose: Bring the model into the Unity project.
Steps: In Unity, import the FBX file into the project.
11. Add the baked image to Unity assets
Purpose: Apply the texture so the material shows up.
Steps: Drag the baked image into the Assets panel in Unity.